
The most common file format, and the one we recommend, is geojson. Your geojson file should be saved in the default CRS84 format (EPSG: 4326) and it should look something like this:
{
"type": "FeatureCollection",
"features": [
{ "type": "Feature", "properties": { "name": "example", "address": "885 Example St, Example Town, World", "phone": "", "text": "This example text is just an example. Of course we could add other fields, such as Description, Comments, etc. These will always have the same format as this field. HOWEVER, notice that the link, caption, and sidebarMediaTop/Bottom have specific, precoded functions. A title or name field is also precoded, it will show you the name on hover.", "link1": "https://www.example-site.org/", "link2": "", "link3": "", "sidebarMediaTop": "", "caption": "", "sidebarMediaBottom": "" }, "geometry": { "type": "Point", "coordinates": [ -95.971, 47.314 ] } }
]
}
The structure will be a lot clearer if you run “Format document” or “Pretty-print” in your editor:
{
    "type": "FeatureCollection",
    "features": [
        {
            "type": "Feature",
            "properties": {
                "name": "example",
                "address": "885 Example St, Example Town, World",
                "phone": "",
                "text": "This example text is just an example. Of course we could add other fields, such as Description, Comments, etc. These will always have the same format as this field. HOWEVER, notice that the link, caption, and sidebarMediaTop/Bottom have specific, precoded functions. A title or name field is also precoded, it will show you the name on hover.",
                "link1": "https://www.example-site.org/",
                "link2": "",
                "link3": "",
                "sidebarMediaTop": "",
                "caption": "",
                "sidebarMediaBottom": ""
            },
            "geometry": {
                "type": "Point",
                "coordinates": [
                    -95.971,
                    47.314
                ]
            }
        }
    ]
}
You can test it in QGIS to make sure it is delivering a point, line or polygon.
Next you will you will have to install a command-line utility, ogr2ogr. This is part of the GDAL library and can be found here: https://gdal.org/en/stable/download.html
After installation you cd to the folder where your geojson file is, then issue the command below, replacing everything between brackets (the brackets, these ones < >, are not needed in the final command):
ogr2ogr -f "PostgreSQL" "PG:host=<xxx.xxx.xxx.xx< port=<65432> user=<example_user> dbname=<example> password=<example_pwd>" "<example.geojson>" -lco GEOMETRY_NAME=geom -lco PRECISION=no -lco LAUNDER=no -lco FID=id -overwriteThat will upload a table to your database, you can use DBeaver to verify that it is there (use a context menu to refresh the tables if the new one does not appear).
You can download tables using this command:
ogr2ogr -f GeoJSON <example.geojson> "PG:host=<xxx.xxx.xxx.xx> port=<65432> user=<example_user> dbname=<example> password=<example_pwd>" <example>Installing files in geoserver
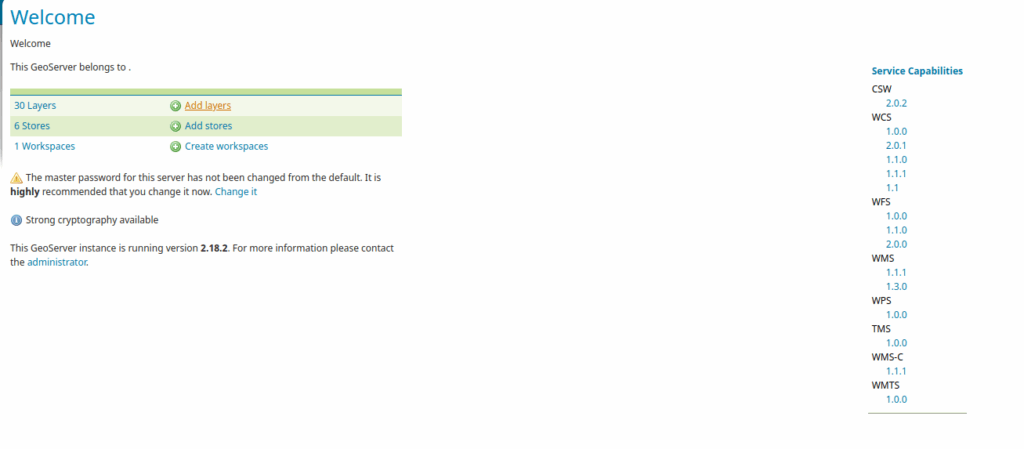
Login in to geoserver using your browser (YOUR_PROJECT.org/geoserver). Click “add layer”:
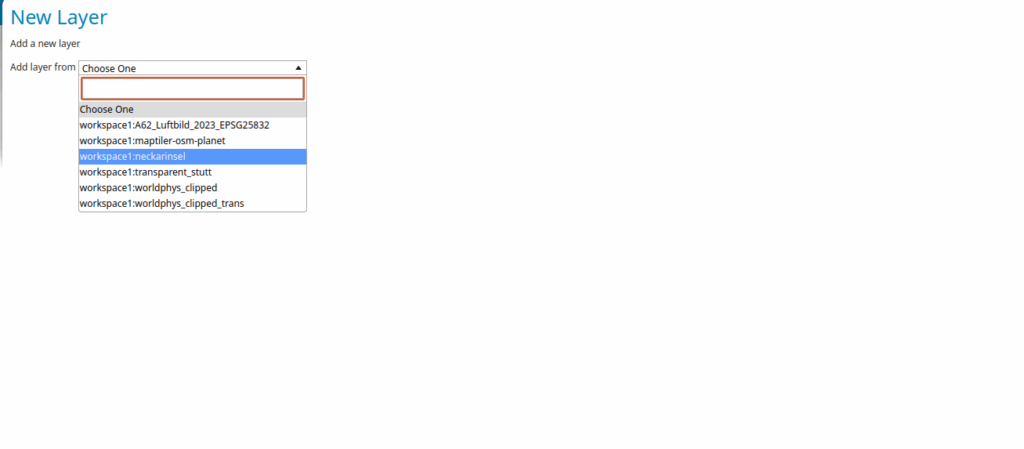
You will have to select which datastore you want to use. Typically you will only have one, but if there are more, the one you want will say “workspace1: PROJECT_NAME”:
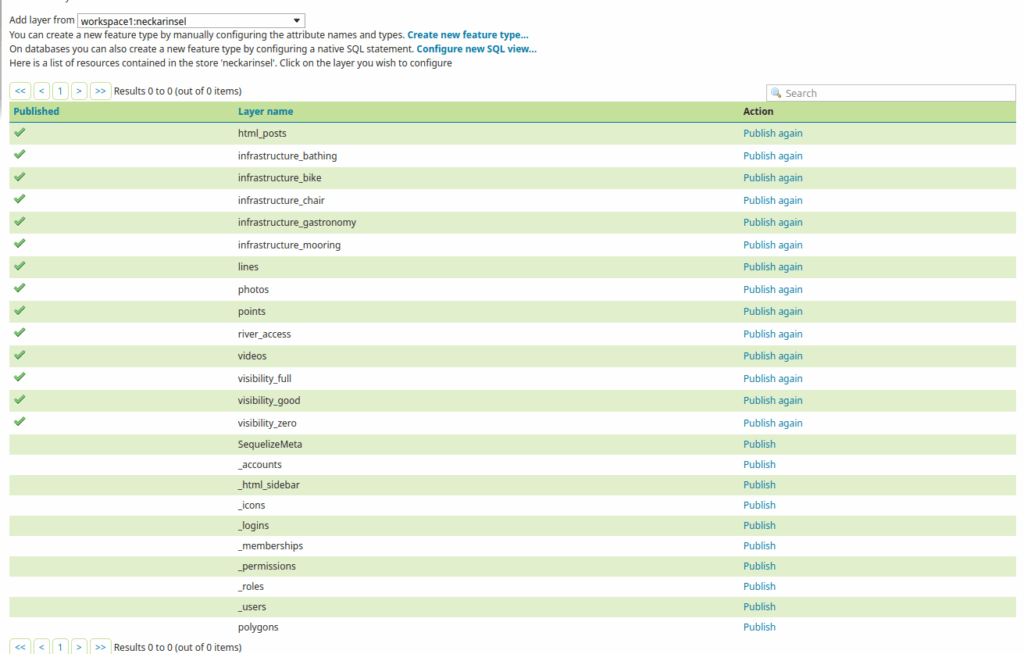
Next you will select the file you want to add (in db lingo these are “tables”). But don’t ever add one that begins with an underscore! Here, we would click “Publish” to add the “polygons” table:
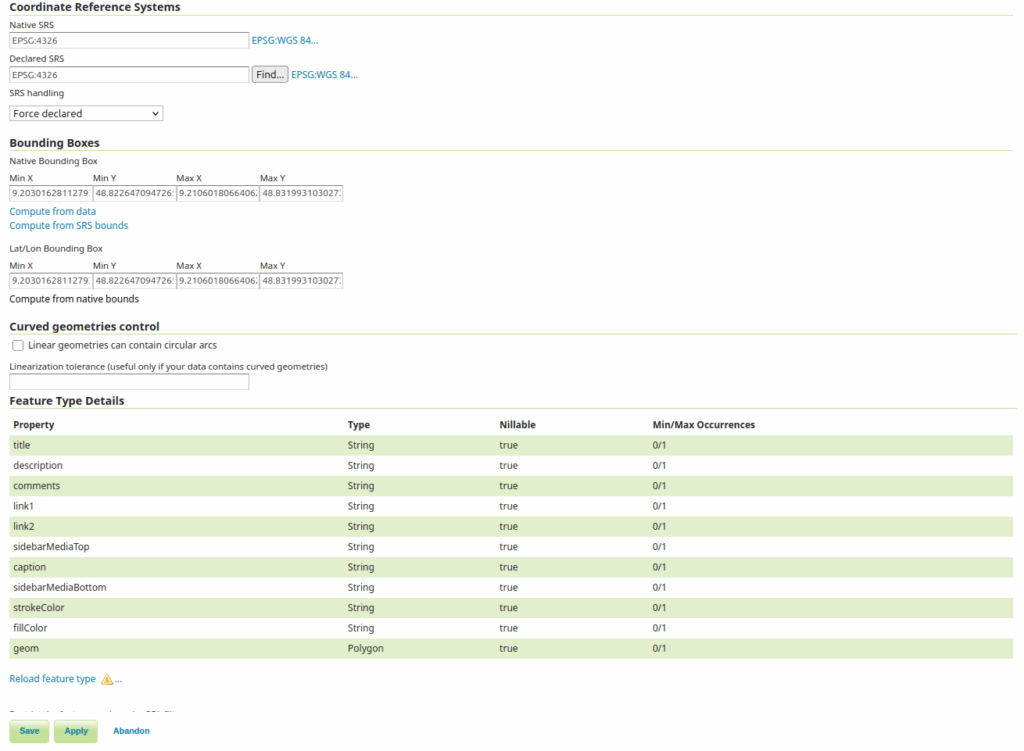
Finally, in the Bounding Boxes” section, you just click “Compute from data” and “Compute from native bounds”, and then hit save at the bottom:
You can now use “Layer preview” in Geoserver to ensure that your file has been loaded.
For instructions on how to reference a geojson file in the app-conf, see the “Layer definitions” section after this one.